Hint.css
2.0
簡單 直接 快速 |讓tooltips 的功能發揮的很上手
 一、純CSS語法套件。
二、純文字式的tooltips。
三、只用<span>來框住編輯元素即可。
四、可以設定直接呈現的功 能。
一、快速上手實作
設置CSS:
/* 請放置<head></head>之間或<body>之後 * /
<link rel="stylesheet"
href="http://lmcdwriting.org/userfiles/lmc201708/hint.css-2.5.0/hint.css">
使用方法:
- 在任何編輯物件上,如文字、圖像、div、iframe…等,都可以使用。
- 文字(inline物件),img、iframe等inline-block類編輯物件,請外層加上<span>xxx< /span> 。例如 <span>這是範例文字</span>。
- 在<span>裡加人會產生作用的 class,以及aria-label="xxx",xxx即是要跑出的文字。
- 其他塊狀編輯物件,div、p、H 等,請一定要設定寬度(px),
再於物件外層加上<span>xxx</span>,於<span>中加入作用class以及aria-label
=
"xxx"。 否則會以內文長度為寬度。★ hint.css會把作用物件
inline-block
化 ★。
- 表格,請在TD內容前後加<span style="width: 100%;">td內容xxx</span> , 亦即要在span裡面加入 style="width: 100%;",再加入作用的class,這樣「整個格子」才會是作用範圍。
- <span>裡面如有設style,例如字體,會作用於出現的樣貌。
快速示範一:
這是有 Hint.css 作用的文字
〔語法〕:
<span
style="font-weight: bold; text-decoration: underline; font-style: italic;"
class="hint--right hint--error" aria-label="Hint.css的效果!">
這是有 Hint.css作用的文字
</span>
快速示範二:
這
是一個DIV。請要設定寬度,才能有效作用。
區塊型編輯物件,請要設定寬度,否則會被inlin-block化,
這樣寬度就會被CSS語法改變。 / 滑鼠here /
區塊型編輯物件,請要設定寬度,否則會被inlin-block化,
這樣寬度就會被CSS語法改變。 / 滑鼠here /
〔語法〕:
<span aria-label="區塊型編輯物件" class="hint--left hint--success">
<div style="border: 1px solid gray; width: 349px; line-height: 2; font-family: '微軟正黑體';">
這是一個DIV。請要設定寬度,才能有效作用。<br>
區塊型編輯物件,請要設定寬度,否則會被inlin-block化,<br>
這樣寬度就會被CSS語法改變。 / 滑鼠here /<br>
</div>
</span><br>
二、功能作用
出現位置:
| 上左 |
上 |
上右 |
| 左 |
右 |
|
| 下左 |
下 |
bottom-right
|
位置語法:
上左: class=" hint--top-left "
上: class=" hint--top "
上右: class=" hint--top-right "
左: class=" hint--left "
右: class=" hint--right "
下左: class=" hint--bottom-left "
下: class=" hint--bottom "
下右: class=" hint--bottom-right "
內容語法:
aria-label="裡面可以填寫內容"
顏色語法(請加入 class裡面):
紅色: hint--error
藍色: hint--info
橘色: hint--warning
綠色: hint--success
位置、顏色共現範例: class="hint--top hint--warning"

〔語法〕:
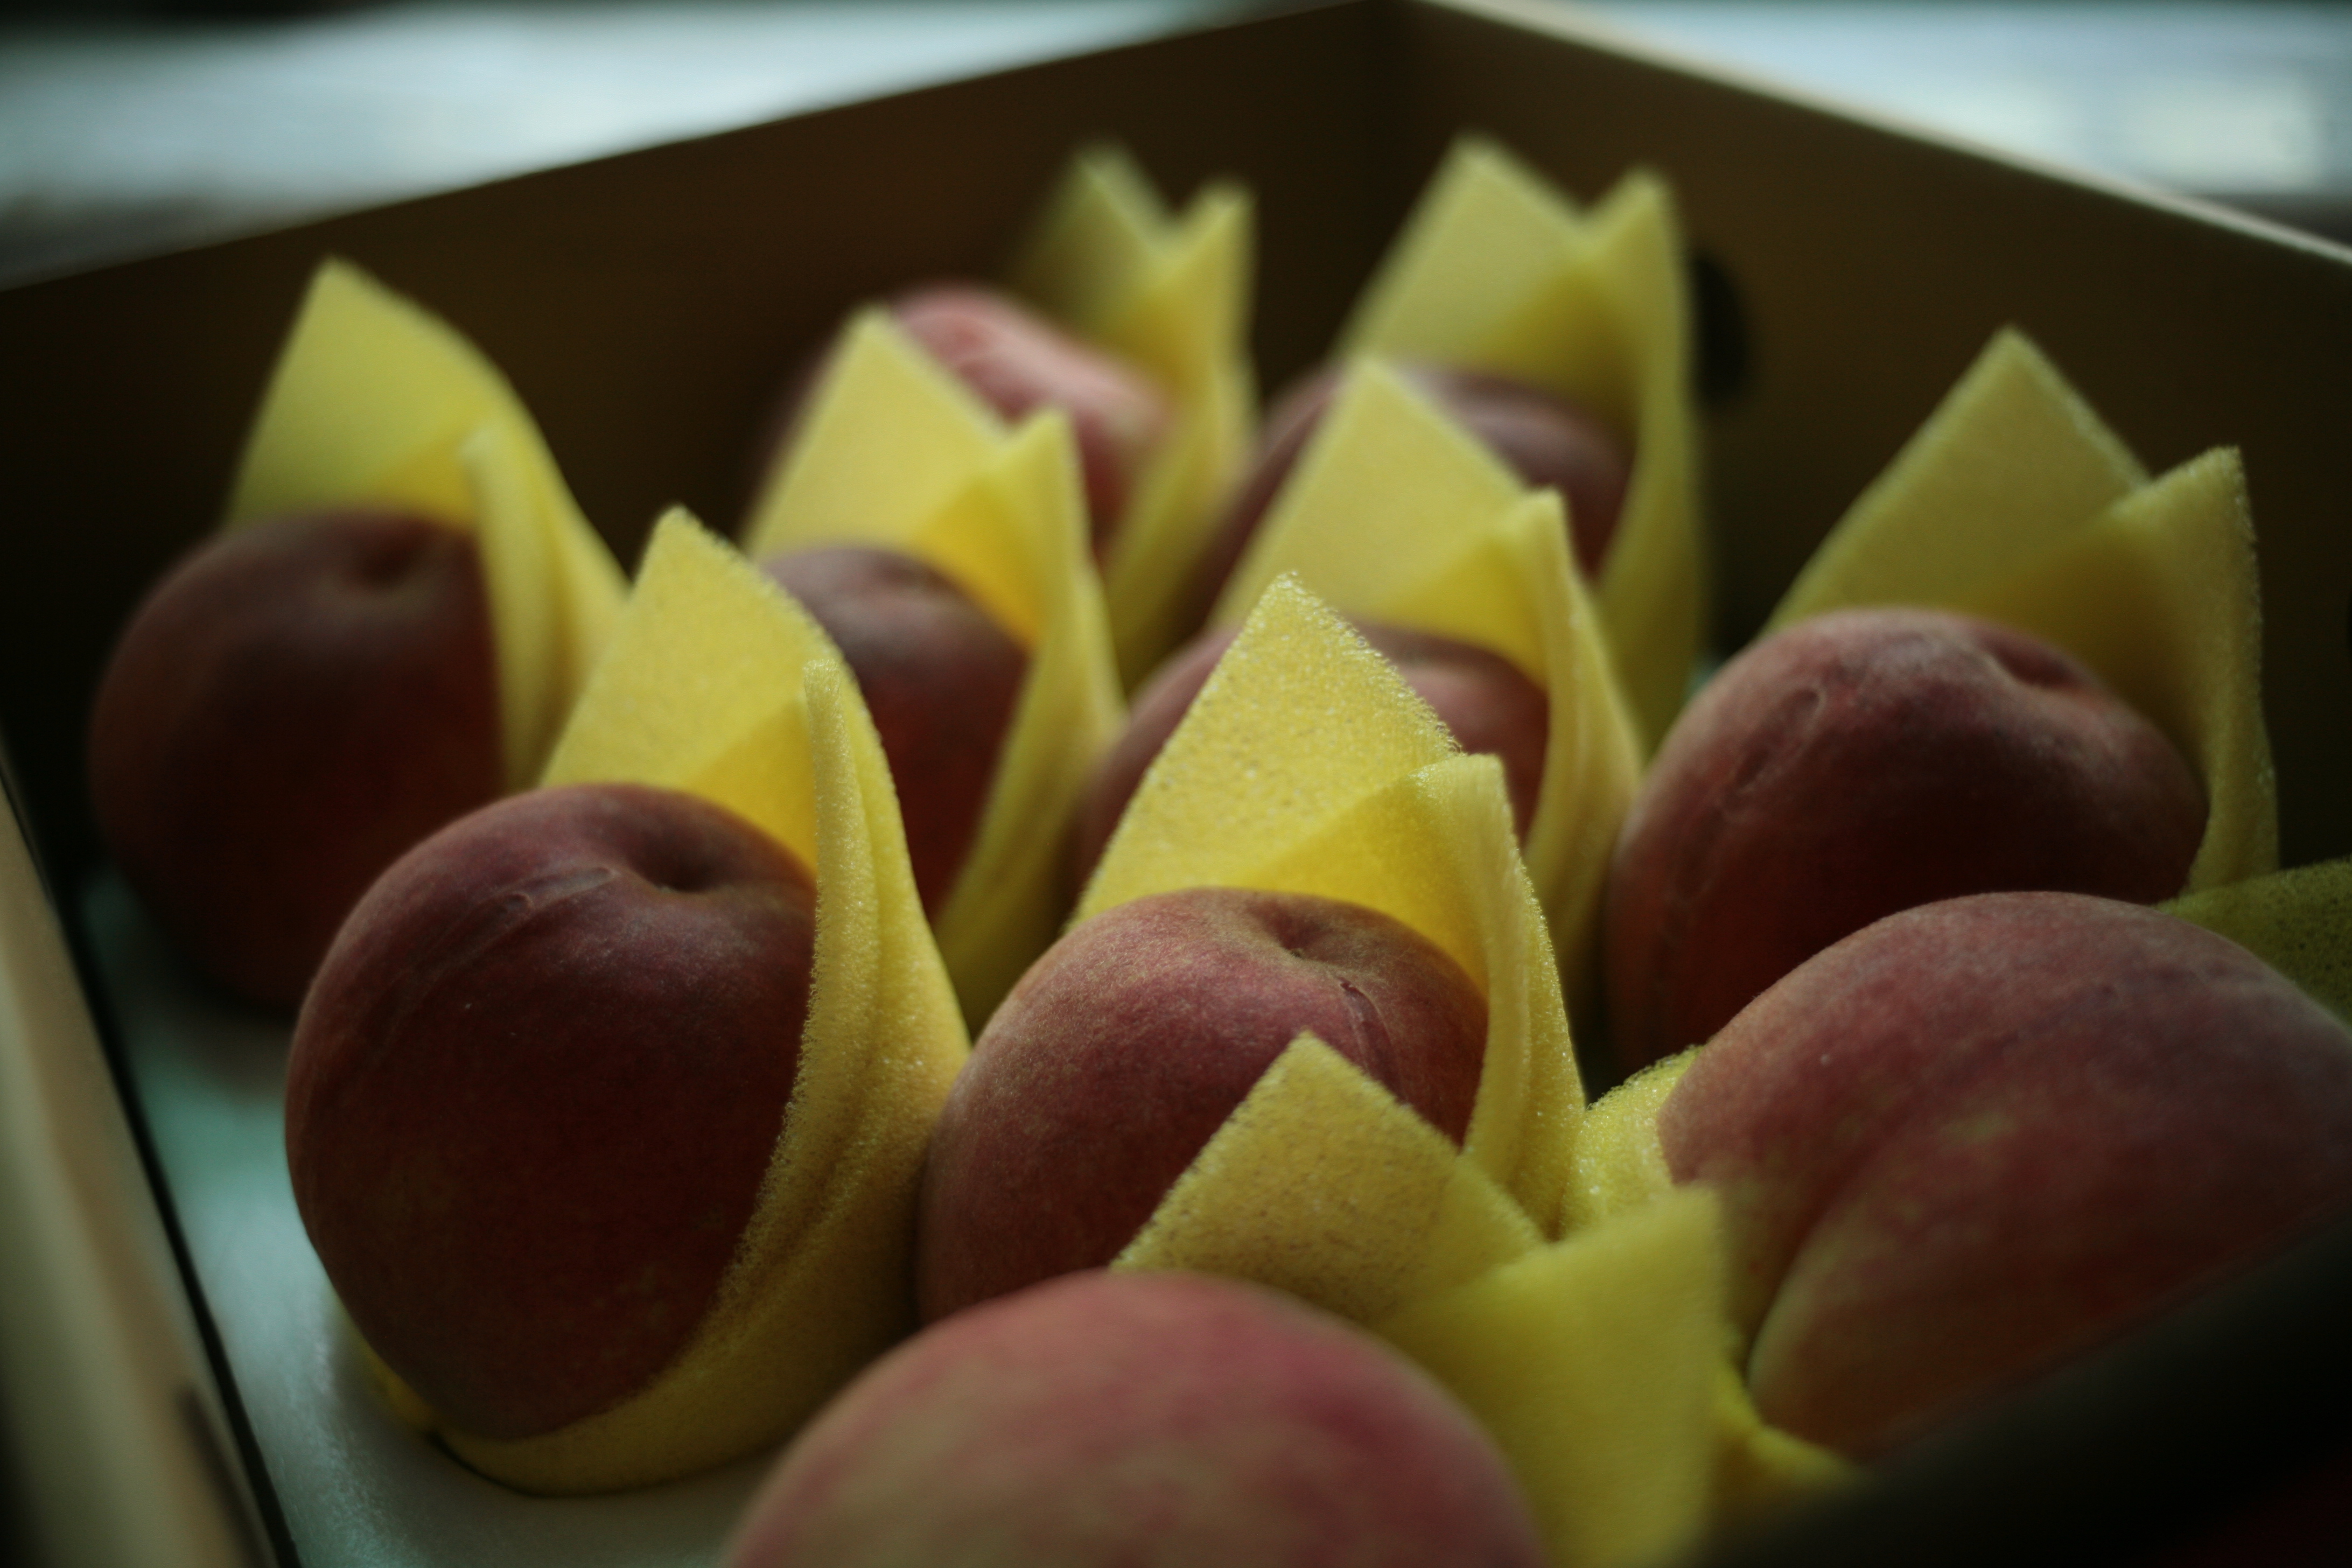
<span class="hint--top hint--warning" aria-label="拉拉山的水蜜桃"><img style="width: 180px; height: 120px;" alt="" src="https://farm5.staticflickr.com/4287/34757133373_159d1dcbd6_o.jpg"></span>
再強調一次:
一、文字、圖像( img )、以及影音( iframe )等inline以及inline-block的編輯物件,請外層加入<span>才有作用。
二、其他block的編輯物件,div、p 等,如要固定,請一定要設定寬度,並在其物件外層加入<span>,並加入作用class以及 aria-label,即可。
三、TD的使用注意,在td內文外層加上<span>,span寬度設100%,請看語法:
<td style="width: 180px;"><span style="width: 100%;"
class="hint--top-left hint--error" aria-label="上左的效果!">上左</span><br>
</td>
三、進階使用
請將下列代碼加入到class裡面,可以需要加上多個,中間有空白鍵即可:
hint--always //直接呈現
hint--rounded //圓角框
hint--no-animate //無動態效果
hint--small //小型框
hint--medium //中型框
hint--large // 大型框
說明:把所有想要的功能
代碼,都加入到class裡面去,請移入。例:
class="hint--top hint--info hint--rounded hint--medium hint--no-animate"
aria-label="共有五種交果共同存在"
class="hint--top hint--info hint--rounded hint--medium hint--no-animate"
aria-label="共有五種交果共同存在"
四、需求
改造
如果你想要
先直接呈現,然後滑鼠移入後
tooltips反而消失,這樣的功能效果,要如何來處置呢?
語法:
<span
onmouseover="$(this).removeClass('hint--bottom-left hint--info hint--always hint--rounded hint--large');"
onmouseout="$(this).addClass('hint--bottom-left hint--info hint--always hint--rounded hint--large');"
class="dispinbl hint--bottom-left hint--info hint--always hint--rounded hint--large"
aria-label="請滑鼠移到到DIV,直接呈現的Hint.css就會消失">
<div style="border: 1px solid gray; width: 576px; line-height:
2;">如果你想要
先直接呈現,然後滑鼠移入後
tooltips反而消失,這樣的功能效果,要如何來處置呢?</div>
</span>先直接呈現,然後滑鼠移入後
tooltips反而消失,這樣的功能效果,要如何來處置呢?</div>
保持 inline-block 狀態的CSS:
<style>
.dispinbl {
display: inline-block;
}
</style>
構思說明:
一、在span裡面加入,onmouseover 以及 onmousout 這二個互動語法。移入時把之前設好的 hint.css 功能代碼class 抽掉,於是之前設好的效果就不見了。滑鼠移出時,再「恢復」之前的class設定,於是hint.css的效果又出來了。
二、*注意*span裡面要記得加入inline-block功能的class。這樣一旦啟動onmouseover時,hint.css 的class被抽掉時,span還能保持inline-block的狀態。版面才不會變動。
教學影音:
語法:
<span class="hint--left hint--error" aria-label="Hint.css的效果!">
<iframe
src="https://www.youtube.com/embed/va9eQWi-A7s?rel=0"
allowfullscreen="" frameborder="0" height="315" width="560"></iframe>
</span>
說明:
同樣的,在video iframe的語法外層加入有hint.css 效果的<span> 。


